Kit Reprocessing Checklist
The Kit Reprocessing Checklist enables the Logistics team to track each component of the kit and record its status. After each component is accounted for, the reprocessing actions can be performed, and then the checklist is signed by the logistics technician and the quality control technician. Each checklist has an Audit History feature that includes all the actions taken and who performed them. With the checklist, the team can also mark a device as replaced, which will help keep track of device locations during kit reprocessing. For example, if a device or a component has physical damage, the status will appear on the checklist.
|
In this
|
Tracking Kit Components
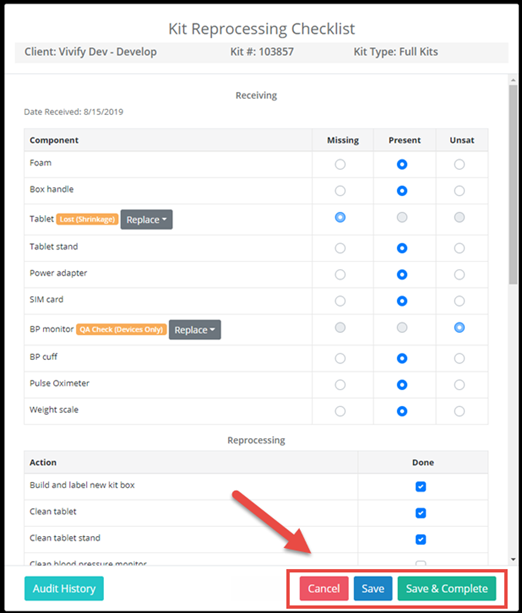
The first step for completing a Kit Reprocessing Checklist is accounting for all the components in the kit. The components can be in three statuses: Missing, Present, or Unsatisfactory.
In the Receiving area, for each component in the list, click a status (missing, present, or unsatisfactory).
- Select Missing. The device is unaccounted for and was not returned in the kit.
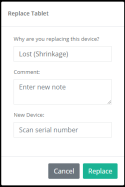
The Replace Device window appears.
- In the Why are you replacing this device list, click Lost (Shrinkage) or Purchased. Lost indicates that the device was not returned with the kit. Purchased means the patient or Care Team has paid for the device and it will not be returned.
- In the Comment box, type any notes that apply to this device, such as feedback from the patient about the device purchase or loss.
- In the New Device box, scan or type the serial number of the new device.
- Select Present. The device was returned with the kit and it is in working order, not broken.
- Select Unsat. The device is in an unsatisfactory condition and needs to be repaired or replaced.
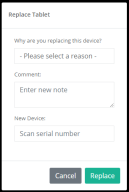
The Replace Device window appears.
- In the Why are you replacing this device list, click QA Check (Devices Only), Physical Damage (Shrinkage), or Purchased. Lost indicates that the device was not returned with the kit. Purchased means the patient or Care Team has paid for the device and it will not be returned.
- In the Comment box, type any notes that apply to this device, such as feedback from the patient about the device purchase or loss.
- In the New Device box, scan or type the serial number of the new device.
Verifying Reprocessing Actions
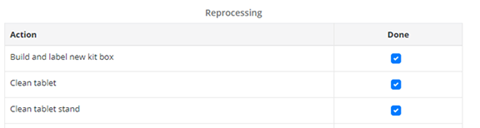
The actions in the checklist will vary depending on the devices in the kit. In general, the steps include building and labeling the new kit box, cleaning the devices, testing power and charge level, and testing device readings.
In the Reprocessing area, do the following:
- Select Done as you complete the action for each row.
- In the Measured Reading box, type the reading that appears on the device. This action verifies that the device is transmitting data to the tablet as expected.

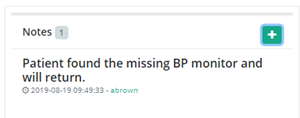
Adding Notes
- In the Notes area, click the
 plus button.
 The Add Note window appears.
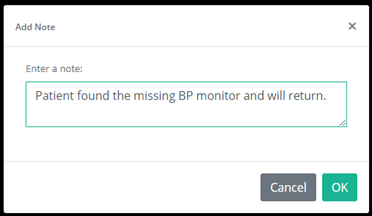
- Type information related to the kit, such as details about missing devices or broken device conditions.
- Click OK. The note appears on the checklist and in the audit history.
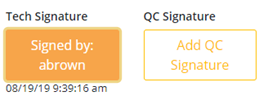
Signing the Checklist
In the Tech Signature area, click Add Tech Signature to verify that you have completed the checklist and it is ready for review by the quality control technician. The date and time appear below the box, and the action is recorded to the audit history.
You can click the box again to remove your signature, but the action will still appear on the audit history.
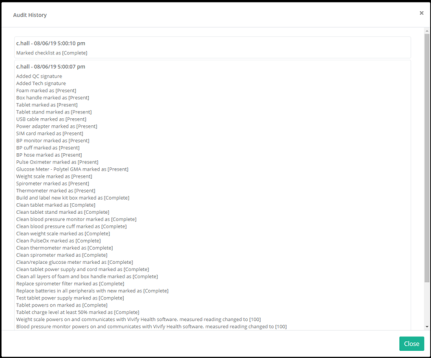
Viewing Audit History
Every action related to the checklist is recorded in the Audit History. When another technician or manager opens the checklist, they can use the audit history to see who processed the checklist and when.
Completing the Checklist
At the bottom of the checklist, you have the following options:
- Save & Complete. After all steps have been completed for the checklist, click Save & Complete. This action puts the checklist in a read only view and prevents further editing.
When you complete the checklist, changes can no longer be made. The checklist can be opened and printed, but it cannot be changed after completed.
- Save. If you want to save your progress but not complete the checklist, click Save. Your progress will be saved, but you can still make changes to the checklist as it is not yet in final state.
- Cancel. If you made a change that you don't want to save, click Cancel. This returns you to the Kit Reprocess page.
 Yes
Yes  No
No